

You are ready to learn how to start an email list?
But you don’t know where to start?
If you want to grow your blog traffic and make money blogging, you want to start an email list as quickly as possible.
You might be busy creating content and getting traffic to your blog. I felt exactly the same way when I launched my first blog.
After all, you can’t make money from your blog without content or traffic.
But the truth is:
Starting an email list is just as important.
Building a list of loyal subscribers can help you leverage your monetization strategy like nothing else.
That’s right – your email list can quickly become your most effective tool for connecting with your readers. And that, my fellow blogger, translates into more blog traffic, more affiliate commissions, and more product sales.
In this article, I’ll walk you through how to start an email list in seven easy steps right away. I’ll share my favorite tools and email tips you can use to start email marketing for 100% free today.
So, if you want to supercharge your blogging strategy and get one step closer to your monetization goals, tag along!
Why you need to build an email list asap
Let’s start with the basics.
If you are new to blogging, you may be thinking:
But I just started blogging a month ago and I only have 5 blog posts. Why should I start an email list now?
I can totally relate to that mindset. I was in your shoes not too long ago.
But let me walk you through a few reasons why it’s important you start today:
1: You can connect with your readers
Your readers are your people!
When someone reads your blog posts, they are genuinely interested in what you have to say. They want to have the chance to get to know you better. Starting an email list is the easiest way to get the job done.
Sending an email to your subscribers allows you to connect with your audience on a personal level. It’s a direct channel to your readers; an in-depth connection to them.
People don’t like sharing their email address with everyone. Your subscribers trust you enough to let you into their inbox. Having an email list is a unique opportunity to share more personal things with your people.
Whenever I send an email to my list, I love reading the feedback from my subscribers. Hearing how my blog tutorials and guides have helped someone start a successful business is so empowering and rewarding!

Think of your subscribers as people sitting in the audience, waiting to hear what you have to say. Treat them like a live audience, and make sure you don’t lose their attention. Otherwise, they will leave the room.
In short: your email list is the best tool available to create loyal followers and fans.
2: You get to know your audience
The only way to make money blogging is to help your audience with valuable content, products, and services.
If you don’t know what your audience needs, you won’t make a dime.
An email list can help you find out what your audience is struggling with. Use every bit of feedback you get and use those insights to create content that solves their biggest problems.
Also, you will see which freebie they opt into. Use that information to segment your subscribers based on their interests. That way, you can send them even more relevant and interesting emails.
When you’re ready to create your first product, listening to your subscribers is the easiest way to make sure you have a bunch of customers lined up for the big launch. Your subscribers are the perfect buyers!
So, if you’ve ever read the famous mantra “The money is in the list”, there’s definitely some truth in it.
But although an email list can help you monetize your blog faster, I think it’s so powerful because it’s the best way to create a two-way discussion with your readers.
3: You own your email list

If you rely on social media for blog traffic, know this:
Facebook, Instagram, and Twitter can close your account anytime without notice. In fact, each social network could be sold and close its doors for good someday.
All those followers you worked so hard to gain would be gone. Your social media traffic would disappear – and so would the income you made through them.
When you start an email list for your blog, you own everything. No matter what happens to social networks (or even your website!), your list will always be your property.
With that said, the safest way to guarantee a steady income from your blog is to monetize your list.
So, it’s clear having an email list is one of the smartest ways to grow your following and make money blogging.
Looking back at my first blog in 2017, not having an email list from day one was a terrible mistake. But back then, I didn’t know how to start an email list and how to get it done the right way – and fast.
That’s exactly what I want to help you with in this guide.
You need an email list so that you can start growing your blog, connect with your readers, and create the perfect group of buyers for the products you promote on your blog.
How to start an email list for your new blog: 7 easy steps
Step 1: Know your audience
The first step to start an email list is to know what your target audience needs from you. After all, people need to get value from joining and being part of your list, right?
Who are you targeting with your email list?
If you have been blogging for some time, you should know who’s reading your blog. You want to be clear about what questions they ask and what problems they struggle with.
Your goal as an email marketer is to offer them help with those problems. You want to answer your readers’ questions to keep them coming back to your website.
Also, understanding your audience means you will know where they hang out online. When you’ve started your email list, you need to drive traffic to your blog to generate subscribers. If you know exactly what platforms your readers use, you will get them to subscribe more easily.
If you’re not sure, check out my full blog target audience guide. (Read the guide now.)
Step 2: Know your purpose
Once you know who your target audience is and where to reach them online, you need to be mindful of your purpose. Why do you want to start an email list for your blog?
Here are a few questions you should answer:
- Why do you want to start an email list? Why now?
- Do you want to sell a product or service (now or later)?
- What is your long-term goal for this list?
- How often will you send emails to your subscribers per month?
The most crucial point to consider is how many emails you will send. If you don’t send enough, people will forget about you and report you as spam. If you send too many, people will unsubscribe.
I usually email my subscribers 2–4 times a month. Of course, sometimes life gets in the way, and I forget to send anything. But there are also times when I find so many helpful tips and resources that I want to share them with my subscribers more frequently.
Also, be mindful of how you intend to monetize your list. Do you want to:
- Promote affiliate products to your list?
- Launch and sell your own products in the future?
- Drive traffic to your website to generate more display ad revenue?
Having an email list allows you to make money blogging in the long run. But you need to know the end goal of starting your list.
It takes time and effort to build a massive list. Knowing your final goal makes it easier to stay motivated and focused.
Also, your subscribers joined your list because you promised helpful, valuable content. If you can’t deliver that in the long run, you may disappoint your followers and damage your business.
With that said, take a few moments to answer the questions above. Know your end goal now before you launch your list.
Trust me, you’ll find it much easier to show determination and commitment to your efforts if you know what you want to achieve.
Step 3: Choose an email service provider
With a clear idea of the purpose of your email list, let’s move on to finding an email service provider.
Now, you may be thinking “I’ll just send emails to my subscribers from my Gmail account.”
Bu the thing is:
You can’t send bulk emails to your list through your free email provider. Not only would you break email marketing opt-in laws, but you’d also have no proper tools to grow and manage your list correctly.
There are multiple email service providers for bloggers, both free and paid.
So, which one is the best for your blog?
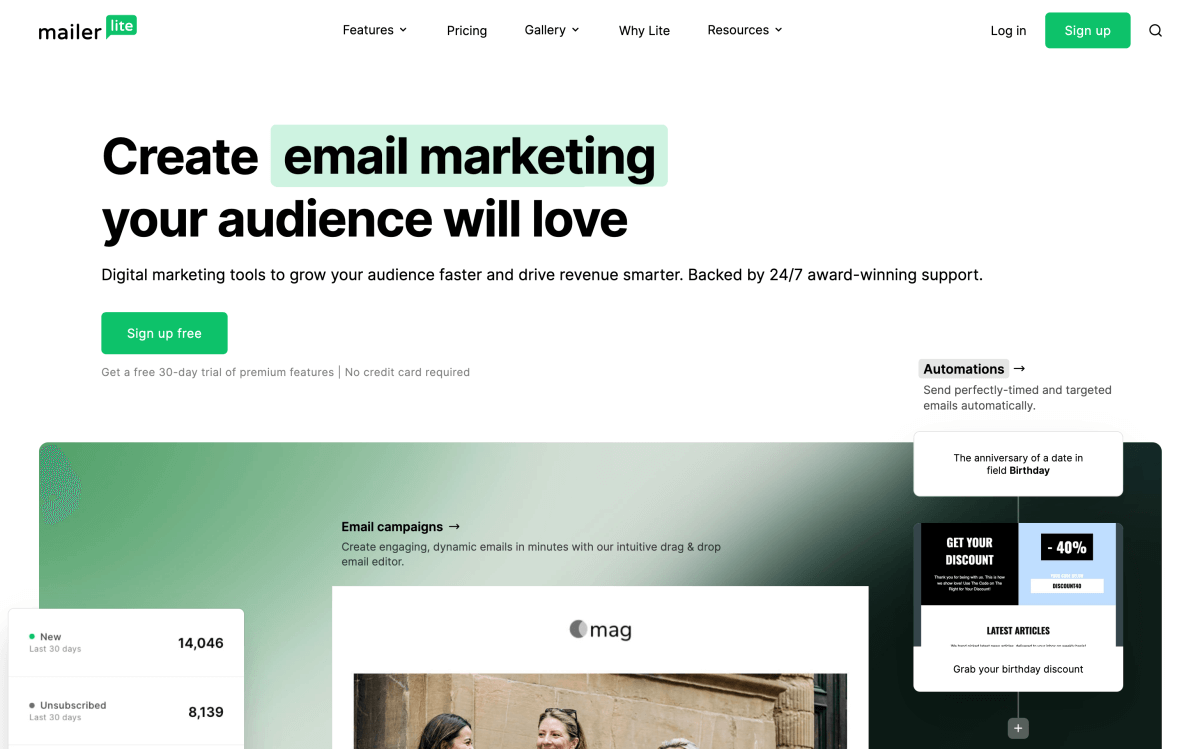
I recommend using MailerLite if you are new to blogging. I use it for this blog, it’s free, and I simply can’t recommend it enough.
Here’s why:
I started Blogging Explorer because I wanted to share my blogging journey with the world. And while doing that, I wanted to monetize this blog.
However, I was familiar with blogging back then already. My first blog was about coding and learning tech skills.
I knew blogging is a ton of work, so I wanted to find an email service provider that was easy enough for me. I know my way around tech, but I hate wasting my time on tools that are too complex.
Speaking of complex tools, I had used MailChimp for my first blog. But I wasn’t happy. Their dashboard is far from clear and clean. There are simply too many bells and whistles, and it’s difficult to know how to get started.
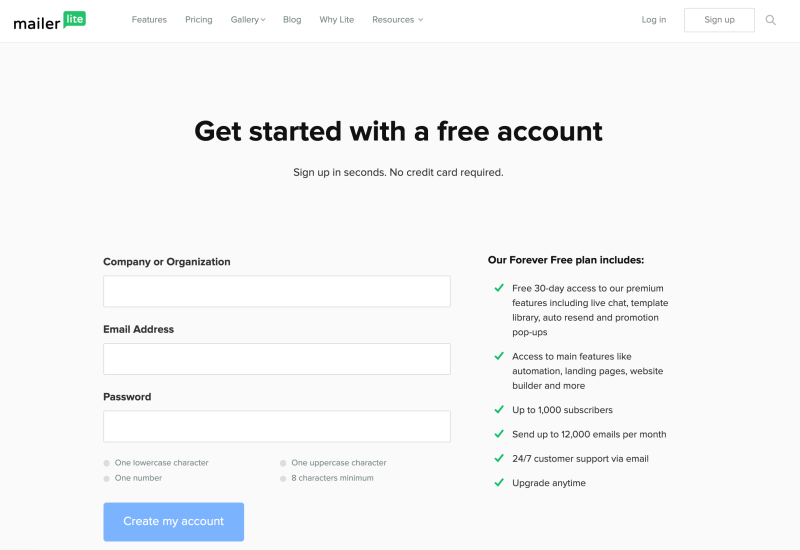
MailerLite is different. I signed up in a few minutes and started my first email list much faster than I expected.
You can start an email list with MailerLite for free. They offer a generous free plan for up to 1,000 subscribers.
Also, you will get access to all premium features for 14 days by using my special link.
The free version of MailerLite allows you to grow your blog with automated email sequences. This is by far my favorite feature!
Automation means that you can:
- Create a free email course
- Deliver multiple freebies to new subscribers
- Set up an automated welcome email series
- Create an automated sales funnel
Trust me, automated emails are a must-have for any new blogger. They help you connect with your readers without having to write emails constantly. (Just set it and forget it!)
Step 4: Create a content upgrade (an opt-in freebie)
Now that you have chosen an email service provider, it’s time to start building your list.
How do you start an email list and get people to sign up?
Of course, you can do offline marketing and have your friends and family sign up. And you can tell everyone in your neighborhood that you’ve just created an email list.
But you should get your blog visitors to sign up instead, right? Those are the people who are interested in your content. They want to learn from you!
The best way to encourage your readers to sign up is to offer them something in return, an incentive.
This is called a content upgrade, a lead magnet, or opt-in freebie.
What types of incentives work best?
The highest-converting incentives address a specific pain point and solve a particular problem for your readers. It’s usually packed with quick, actionable tips; something the reader can apply right away.
In short: an opt-in freebie should make the reader’s life easier instantly.
Furthermore, the best incentives are something people would pay money for. If your incentive helps your readers save several hours or their precious time, that’s worth a few bucks, right?
For example, I’m a huge fan of Pinterest marketing. I LOVE seasonal planners and worksheets that help me keep track of my Pinterest efforts.
If a free worksheet helps me save an entire day of work and I can get it for free, I’m more than happy to sign up.
How to find a great freebie idea?
Now, how can you find that fantastic opt-in freebie idea?
Here are a few places you can look for inspiration:
- Find your most-visited posts in Google Analytics. Convert this existing traffic by offering your readers a helpful content upgrade.
- Find the posts with the most shares and comments. Create a freebie to increase the value of reading and sharing those posts even more.
- Research your competition. Find inspiration in other bloggers’ freebies. But never copy their ideas!
- Browse Facebook groups in your niche and find out what types of questions your target audience is asking.
For example, on my blog niche idea article, a reader asked this question:
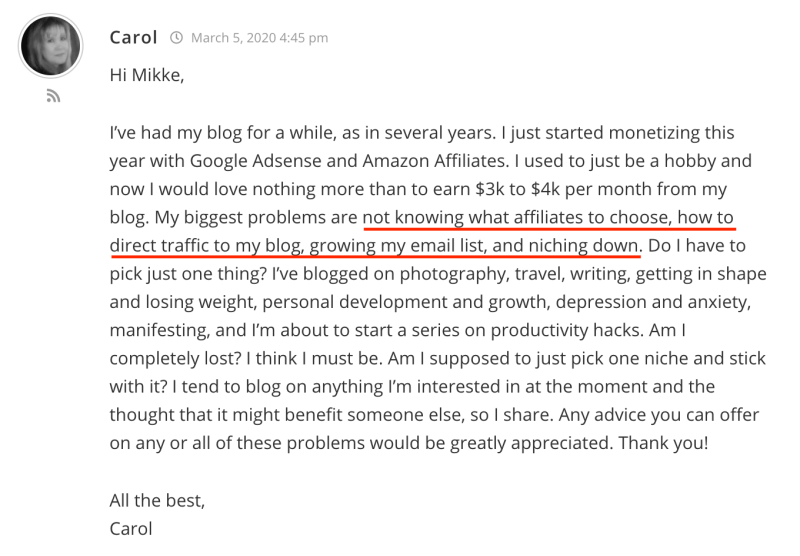
Carol wanted to know all the basics of creating a money-making blog:
- Choosing the right affiliate products
- Driving traffic to her blog
- Growing her email list
- Finding the right niche
These are great ideas for creating the perfect email signup incentive!
I took Carol’s feedback and created the instant Pinterest Marketing Quick Guide. It’s a step-by-step guide with all the basics you need to know to drive free traffic to your blog using Pinterest:
The bottom line is:
Find out what’s the biggest thing your readers are struggling with.
Then, deliver a hands-on solution with your freebie – give your readers a present they really need!
What type of a freebie should you create?
When you find a great freebie idea, be mindful of how you want to deliver it. A high-converting freebie could be a:
- Cheatsheet
- Worksheet
- Checklist
- Email course
- Webinar
- PDF guide
- e-book
Choose a format that suits your target audience’s needs. If you want to deliver a long-form freebie, consider creating an email course. Use MailerLite’s automation tool to send out 3–7 emails, for example.
My best suggestion, however, is to offer a quick win instead. A checklist is something your readers can use right away and get instant value from.
The point is to be generous and deliver something your readers genuinely need and want. Share something you know to help others, simple as that.
How to create your freebie?
Next, let’s see how you can create your freebie fast.
I know many bloggers who design their freebies in Adobe Photoshop, but I’m horrible with it! Plus, the subscription is quite pricey these days.
Luckily, you can use free, beginner-friendly tools to create any of the freebies we looked at above.
I usually create my e-books and other text-based freebies with Google Docs. If I want to add a few visual elements and give the layout a unique twist, I use Canva.
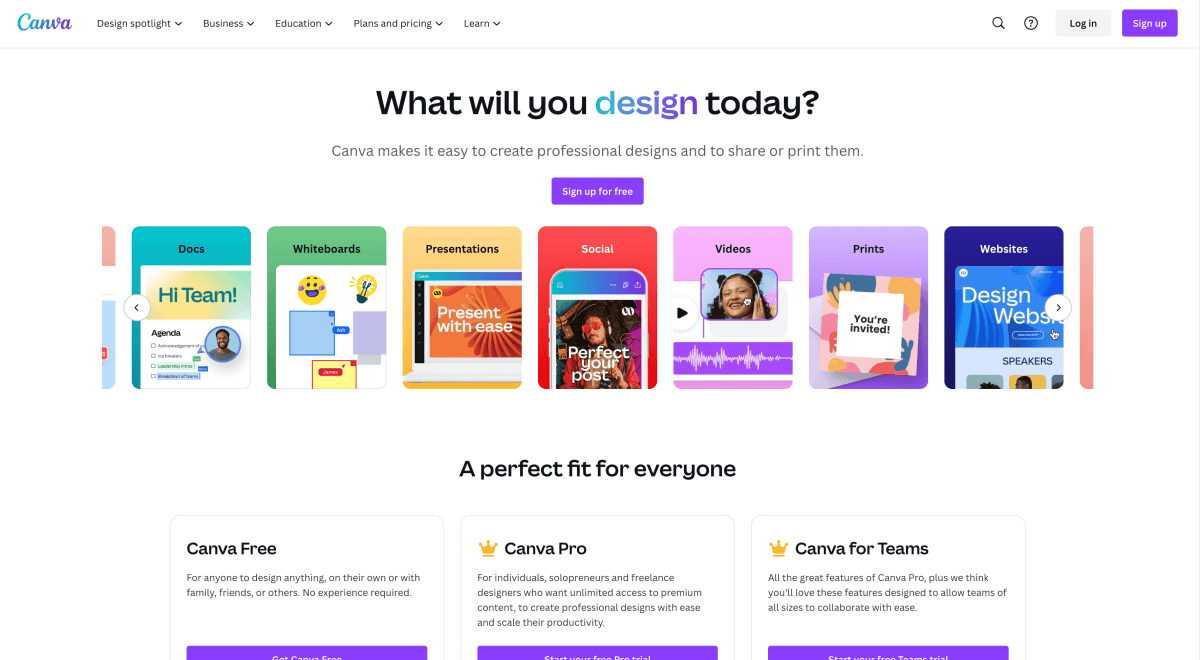
Thus, you don’t have to be a designer to create stunning, appealing freebies your readers will love.
As long as you deliver a solution to a particular problem your reader is struggling with, they will sign up, trust me.
Step 5: Place opt-in forms on your blog
Once your stunning freebie is ready, you need to promote it to as many people as possible.
How can your readers sign up?
You need to know where to place your freebie on your blog to make sure you get people to sign up. To do this, you will need to create an opt-in form with MailerLite.
Where should you place those forms?
1: Within your blog posts
The best place is within your blog article like I’ve done throughout this post.
Make sure that your opt-in relates to what your blog post is about. Your freebie should complement your article and offer your readers additional value.
For example, if your article is about 15 Quick Steps to Get Started With Crochet, create a quick checklist with 10 Must-Have Crochet Tools and Materials for Absolute Beginners. A person reading your article is interested in the essentials required to start this cool hobby.
Also, you can promote your freebie at the end of your article. A content upgrade is a fantastic call-to-action (CTA) you can use to catch your reader’s attention. You don’t want them to just finish your article and leave your blog!
2: On dedicated landing pages
Sometimes your readers will overlook your in-article opt-ins. People often get distracted by everything else that’s going on.
That’s where a dedicated landing page steps into the game. It’s a separate sub-page where you:
- Introduce your freebie
- Emphasize the value your readers get from it
- Highlight the benefits from subscribing to your list
- Offer an opportunity to sign up
A dedicated landing page is an excellent way to keep your readers focused on a single thing: your incentive. Therefore, they usually have a higher conversion rate than opt-in forms within your articles.
You can quickly create a new WordPress page on your blog site. Keep the design simple and focus on the benefit your incentive offers.
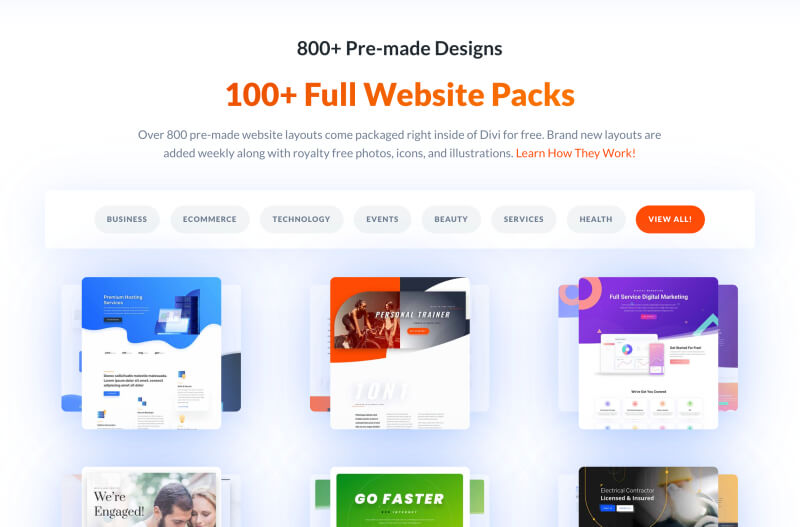
If you want to set up a stunning, professional landing page within minutes, check if your WordPress theme includes a plug-and-play template.
For example, I use the Divi theme for all my blogs. It comes with 100+ amazing pre-made website packs with dedicated landing pages designed by professionals. They are easy to customize and you can set up an irresistible opt-in page right away!
Step 6: Drive traffic to your opt-in freebie
Now that you’ve placed your opt-in form on your blog, it’s time to get some eyeballs to see it!
You may be familiar with a few traffic tools already, but the trick is to use them strategically. Especially in the long run, you don’t want to spread yourself thin across all platforms. You don’t have time for that.
When you plan your blog traffic strategy carefully and follow it rigorously, you will see more consistent and sustainable results. And that’s when your email list starts growing big time!
Here are a few traffic techniques you should consider:
1: Social media
The best and quickest way to get started is to promote it on social media.
Twitter, Facebook, and Instagram are powerful tools to drive traffic to your website.
If you don’t have a large following on social media yet, don’t worry. Make sure you use these powerful traffic tools to explore your blog traffic faster.
2: Search engine optimization (SEO)
Even if it sounds scary, I recommend learning the fundamentals of search engine optimization (SEO).
Although SEO doesn’t bring quick wins, don’t overlook it. Free, organic traffic from Google is a fantastic way to make sure your traffic will grow steadily in the long run.
If you’re not familiar, make sure to read my beginner’s guide to SEO for bloggers.
3: Pinterest traffic
If you really want to break the bank, Pinterest is a great platform to share your content upgrade.
If you have read some of my blog posts, you know I’m a HUGE fan of Pinterest. It’s been a real game-changer for me – not just for my blogs, but for my overall income and lifestyle.
I managed to double my blog traffic and income with Pinterest back in early 2019.
Ever since then, I’ve been obsessed with finding the best Pinterest marketing strategies to boost my traffic even further.
The biggest secret to success on Pinterest is consistency. You need to pin relevant, high-quality content daily.
Also, Pinterest loves fresh, new content. If you can’t publish new blog posts too often, make sure you create multiple new pin images every week.
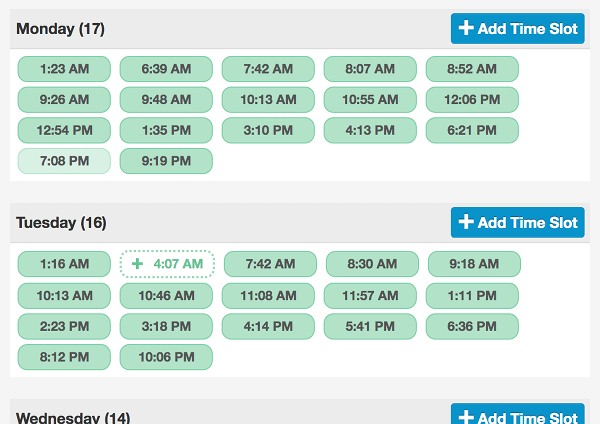
And finally, automate your pinning with a Pinterest scheduling tool. I don’t have the time to pin manually every day, but I know Pinterest prefers active accounts. I use an automation tool called Tailwind.
Tailwind takes care of my pinning on autopilot and knows exactly when to publish my pins to reach as many people as possible.
Instead of spending several hours every week pinning manually, I schedule my pins for an entire month in advance. And it only takes me 1 hour!
If you’re not familiar, give Tailwind a try with their 100% free plan.
But let’s go back to your blog:
Once your opt-in form and freebie are live on your blog, you can share it on Pinterest easily.
Create a beautiful pin image with Canva, and share it on Pinterest with a link to your blog.
Here are a few tips for a killer pin design:
- Make it vertical – pinners love tall images!
- Pinterest recommends a 2:3 aspect ratio and an image size of 1,000 x 1,500 px
- Use high-quality images
- Create a text overlay highlighting the benefit from clicking through to your article or freebie
- Make it personal: use “I” and “my” in your text overlay
- Use clear, clean fonts and make your text easily readable
I recently created this pin below for my Pinterest marketing strategy guide with a content upgrade:
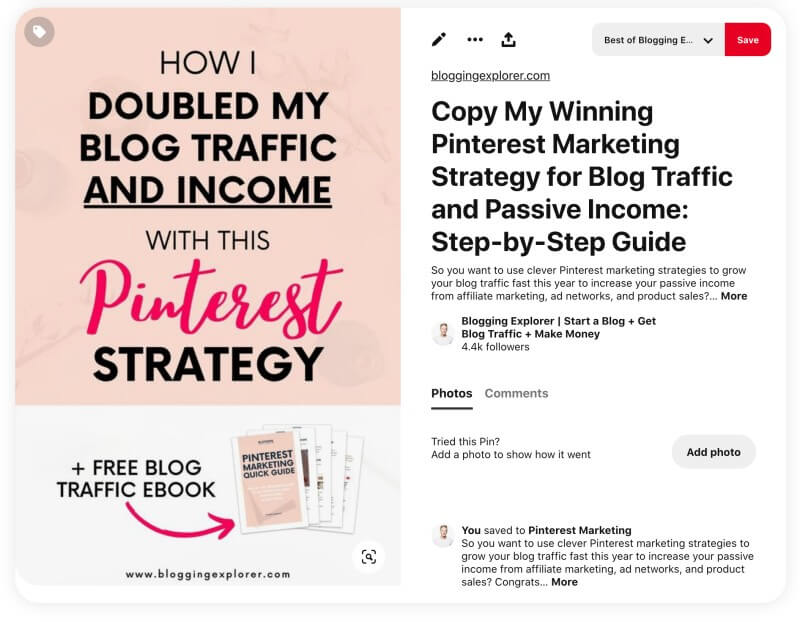
The size is right, the title highlights the value and benefit of reading the article. Also, I mentioned the freebie at the bottom.
This pin relates to the struggles my audience has. I offer solutions to (1) generating blog traffic and (2) growing blog income.
And although it’s not my favorite design, this pin generated a ton of new leads and amazing connections with fellow bloggers around the world.
Step 7: Monitor and analyze your success
When your email list is set up and automated, your work isn’t over.
The secret sauce to successful email marketing and list building is to improve your game continuously. You want to make sure your newsletters are working, and your subscribers are reading them.
So, once you have a good baseline of subscribers, you can start finding opportunities to improve your conversion rates.
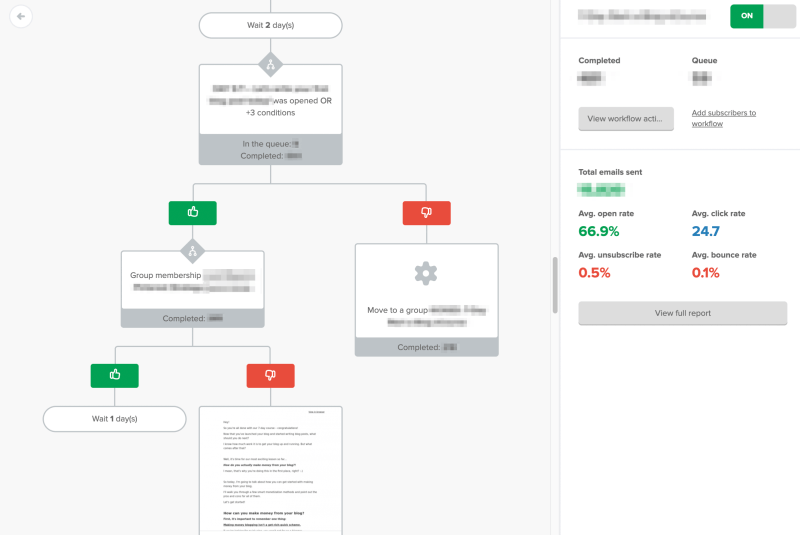
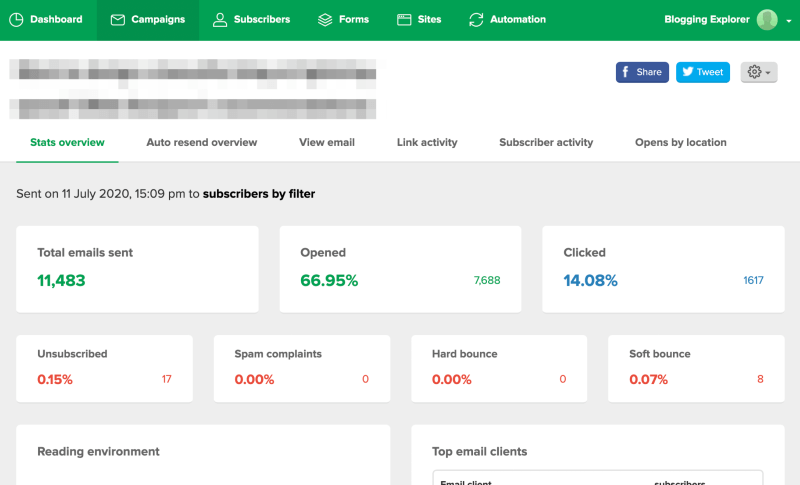
Fortunately, you have access to a few great analysis tools in your MailerLite account dashboard.
You can monitor your automation workflows easily, for example. If individual emails get low open rates and click rates, make sure you find out why:

Also, analyze your individual campaigns. See which emails resonate the most with your subscribers. Use your insights to improve your future campaigns:
Here are a few tips to improve your email open rates:
- Avoid spam filters by using a reliable email service provider and avoid spammy words in your emails.
- Write a compelling, value-driven email subject line people want to click.
- Experiment with sending your emails on different days and times.
- Remove inactive subscribers who haven’t opened your emails in a long time from your list.
Final thoughts: How to start an email list as a new blogger
Thank you so much for taking the time to read this tutorial. I hope you found a few helpful tips to start and grow your very own email list.
Once you start your email list, there are tons of things you can do with it.
Don’t be afraid to try advanced strategies like
- Automated welcome sequences
- Giveaways
- Webinars etc.
The more diverse techniques you try out, the faster you will learn and see your list grow.
I know email marketing can feel daunting and confusing if your blog is brand new. Still, it’s one of the most powerful skills to learn by doing.
Once you get the hang of it, you will quickly come up with winning strategies and tactics to create a two-way dialogue with your readers.
Remember: building a list is all about connecting with your audience and helping them out.
You want to build a close relationship with your visitors, consistently deliver valuable resources, and creating trust with the people on your list.
Ultimately, your email list will help you make more money with your blog. That income will be based on the relationship you have with your subscribers.
So, never abandon your subscribers and take long breaks. Cultivate trust, be honest and transparent, and keep things conversational. Deliver high-value emails, exclusive and relevant content, and listen to your audience.
Sign up for the free plan with MailerLite here. Create your first list and set up a welcome email that automatically sends when new readers subscribe to your email list.
Use your welcome email to introduce yourself, keep it conversational, and thank your new subscribers for their interest in your blog. You can do this!
Now, if you found some helpful tips in this guide, I’d love to hear from you. Please share your thoughts in the comments below!
P.S. If you liked this guide on how to start an email list, please share this tutorial so others can find it too!