

So you want to learn how to format a blog post? And you want actionable tips you can implement today?
Just a minute ago, I answered a lovely email from a reader who asked me:
How should I format my blog post to get more blog traffic?
What a great question!
When you’ve started a blog, formatting your blog posts the right way can make a huge difference to your blog traffic, readability, and even your blog income.
The points I covered in my email were really helpful, so I thought I should share them with everyone in this guide.
And while formatting your blog posts is not rocket science, you should follow a few key guidelines to help your visitors find what they are looking for more easily.
Hence, getting your blog formatting right means that you will see:
- More blog traffic
- Increased reader engagement
- Higher blog income
Sounds good? Then tag along!
In this guide, I will show you 16 best practices to format your blog posts. Also, I will share with your a handful of writing tips to help you produce content faster.
Let’s jump right in!
- Why is your blog post format so important?
- How to format your blog posts: 16 quick tips (to increase conversions)
- 1. Follow a consistent content strategy
- 2. Start with a blog post outline
- 3. Write a catchy headline
- 4. Follow a consistent heading hierarchy
- 5. Use short paragraphs
- 6. Use simple words and language
- 7. Start with the most important talking points
- 8. Use bullet points and lists
- 9. Highlight key takeaways
- 10. Use images, infographics, and screenshots
- 11. Use videos
- 12. Use calls-to-action (CTAs)
- 13. Proofread your blog post
- 14. Add social sharing buttons
- 15. Add click-to-tweets
- 16. Add a table of contents
- Final thoughts: How to format a blog post (to grow blog traffic)
Please note: This post contains affiliate links to products I use, trust, and recommend. If you choose to purchase a helpful product using these links, I may receive a small commission for referring you – at no extra cost to you. These funds help me keep this blog up and running.
Why is your blog post format so important?
People spend a ton of time online, consuming diverse content such as text, images, and video.
And when you think about it, it’s clear that reading content on a screen is quite different from reading it on paper.
Hence, what works in print doesn’t necessarily work for blogging.
The biggest difference is:
When reading blog posts online, people usually scan through the content. Most of us read the headlines and skim through articles to find what we’re looking for, right?
That said, you want to make this scanning process as easy as possible.
If your content is difficult to read, your visitors will leave and head elsewhere.
(Yes, we all are lazy readers online!)
To keep your readers engaged, you must format your blog posts correctly.
The faster your readers find the information they need, the more likely they are to stay on your website. This means:
- More page views
- More affiliate sales
- More display ad income
- More email subscribers
Sounds good? Then let’s get cracking! Remember to save this guide for later!

How to format your blog posts: 16 quick tips (to increase conversions)
1. Follow a consistent content strategy
First things first:
Your blog posts should fit into your overall blog content strategy.
If you simply publish random blog posts that don’t fit the bigger picture, your content becomes scattered and it will lack cohesiveness.
Here’s what you should do:
Once you’ve figure out your blog topic, it’s time to plan your content buckets.
A content bucket is simply a sub-topic within your blog niche.
Covering each content bucket very thoroughly means that your readers can find dozens of helpful blog posts related to a single topic.
For example, let’s say your blog niche is urban gardening.
Within that niche, you can cover content buckets such as:
- Urban gardening tips for families with kids
- Organic urban gardening tips
- Sustainable urban gardening tips
- Tools and gadgets for urban gardening
Focus on one content bucket at a time. Write as many blog posts as it takes to cover everything your readers should know about it.
Doing this helps with your blog SEO. Google loves detailed, valuable, and thorough blog post that support and complement each other.
But most importantly, your readers will love you for sharing everything they need to know.
Following a content strategy helps you publish meaningful, helpful articles that interlink perfectly. You will save heaps of time when you don’t have to brainstorm blog post ideas every week, too.
If you’re running out of ideas, check out my 14 hacks to find blog post ideas that your readers will love.
2. Start with a blog post outline
Once your content strategy is in place, it’s time to start your first individual blog post.
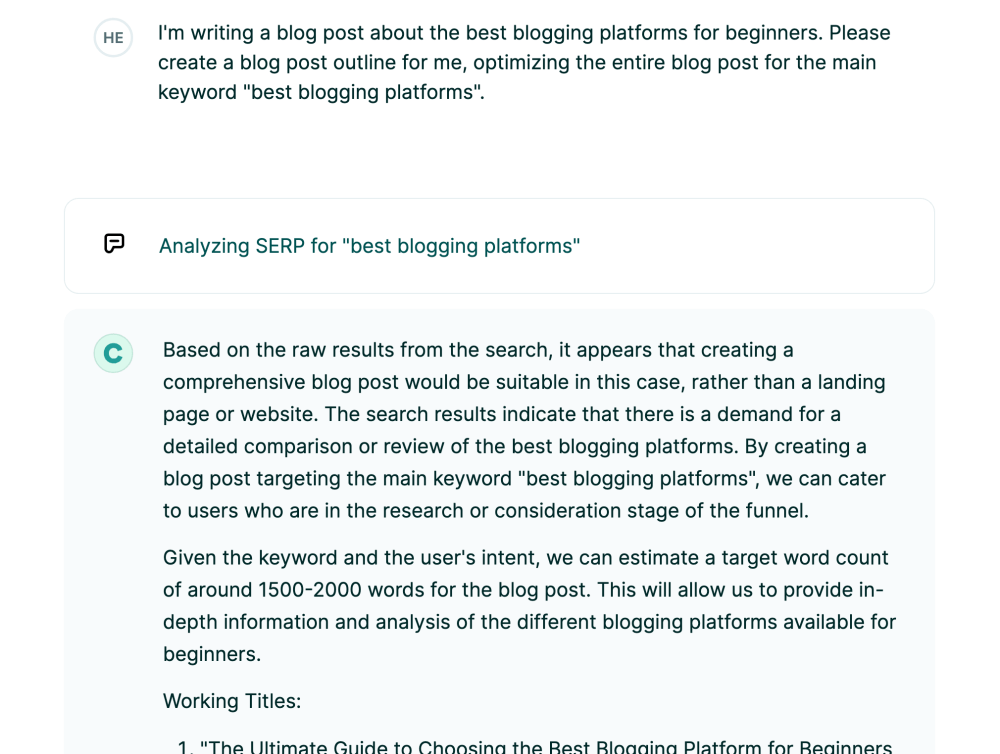
But before you start writing, plan your blog post outline. I like to use Copy AI’s chat to get this done in just 1 minute.
For your outline, map out out the following points:
- Intro:
Why should people read this particular blog post? What’s in it for them? Make sure you highlight the biggest benefit in your intro. How does your blog post make their lives easier? - Body:
List all the talking points you want to cover. Break down your blog post into smaller, easily digestible sections. - Talking points:
Give each talking point a H2 heading. Tell your readers why this point is important, emphasize your promised outcome, provide a data point, include an example, and give them an action step. - Conclusion and call-to-action:
Revisit your main promise from the intro, and emphasize your main message and benefit from reading your blog post. You can use a question as the final interaction, or another call-to-action that makes sense. Maybe ask your readers to join your email list?
Once your blog post outline is set up, you don’t have to second-guess yourself while you’re writing the actual content for it. This helps you focus and finish your writing process much faster, trust me.
3. Write a catchy headline
If you are serious about growing your blog traffic, it all starts with your blog post headline.
A catchy headline is essential to getting people to click through to your blog post. It is the first thing people see on Google, Pinterest, Facebook, and other platforms.
If your headline’s meh, your readers won’t feel compelled to click through to your blog and read your article.
And after putting so much hard work to write your blog post, that would just be a waste of your time, right?
So what should you do?
Here’s how to craft the perfect blog post headline:
- Use keywords: Use relevant keywords that describe the content of your post.
- Be descriptive: Use descriptive language to make your readers curious to learn more.
- Highlight the benefits: Convey the main benefit from reading your blog post. Why should people read your article? What’s in it for them? How is your blog post going to make their lives easier?
- Use numbers: Headlines that include numbers tend to be more attention-grabbing. For example, “12 Secrets to Writing Compelling Blog Post Headlines”.
- Ask a question: Headlines that ask questions are often more engaging and encourage readers to click to read more. For example, “How to Write Blog Titles That Generate Clicks?”
- Use power words: Power words evoke emotions and are often used in headlines. For example: “secret”, “hack”, “boost”, and “proven”.
- Keep it short and sweet: Keep your headlines short and sweet so that they are easily readable and memorable.
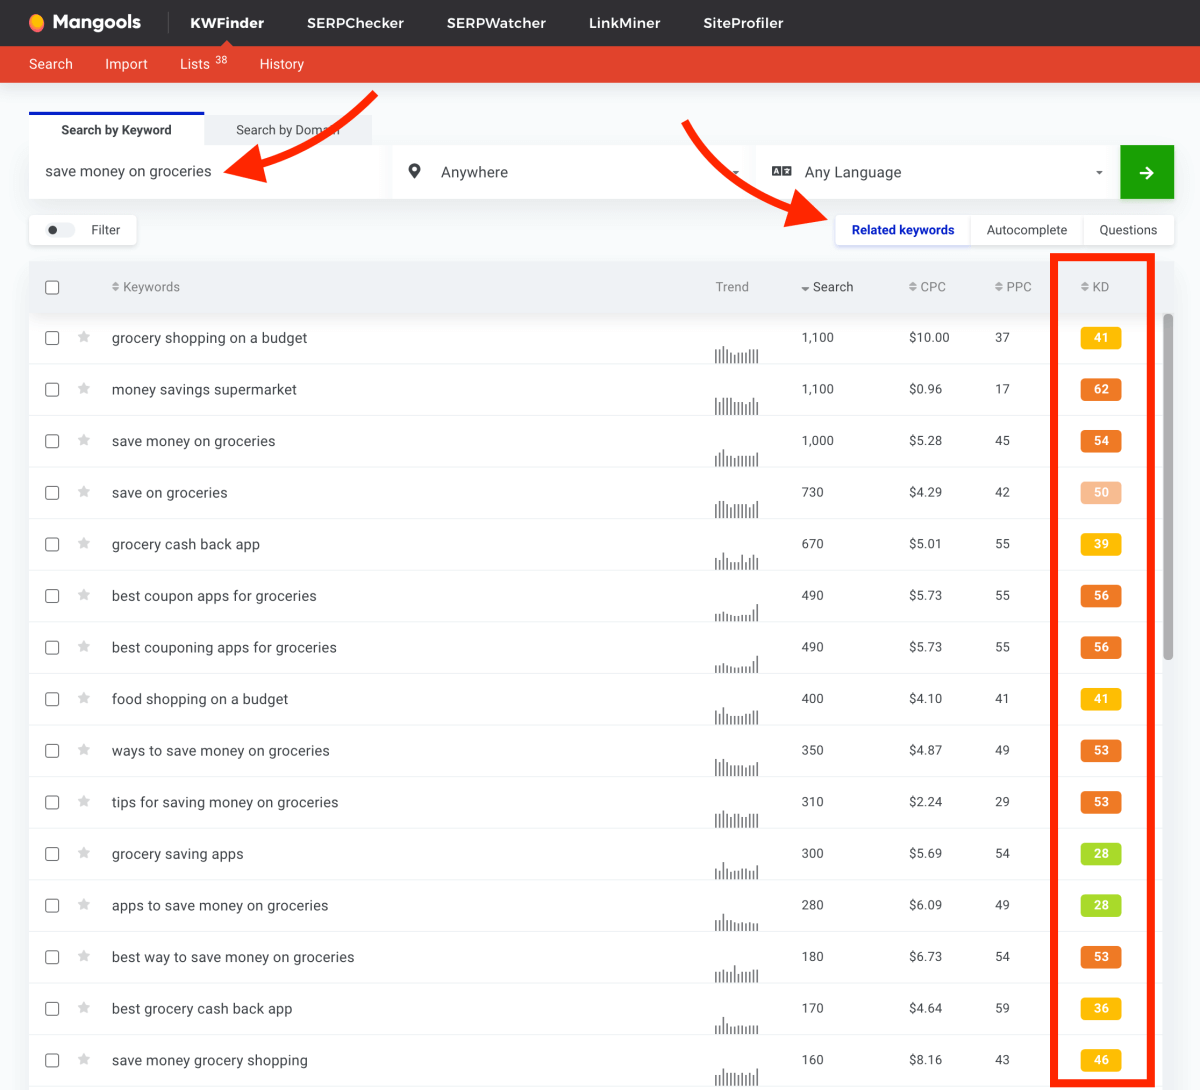
If you are not sure what keywords to use, I recommend the KWFinder keyword tool to find out which keywords are relatively easy to rank for on Google. You can use their free plan to find keyword ideas within 5 minutes.
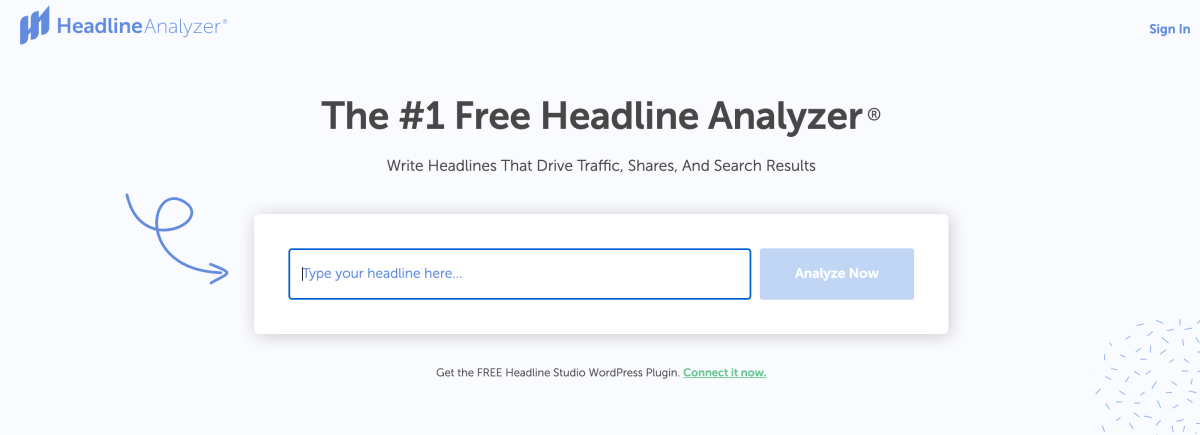
To make sure your headline is click-worthy, use CoSchedule’s free headline analyzer. This free tool gives you instant tips for improving your headline – I can’t recommend it enough.
4. Follow a consistent heading hierarchy
Using headings in your blog posts helps your readers scan your content more easily. Clear headings are essential for a clear blog post structure.
Moreover, search engines use headings to understand the structure and content of your articles.
You may have seen the different heading sizes in your WordPress editor – H1, H2, H3, and so on:
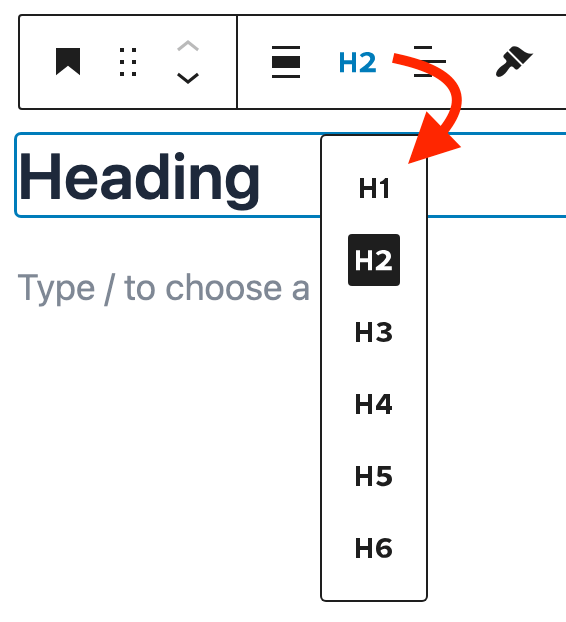
They have different font sizes, yes. But that’s not their point.
Here’s how you should use headings:
- H1 is only for your blog post title:
Each web page and blog post should only have one H1. - H2 are for your main sections:
These headings indicate your most important talking points. Include keywords in H2 headings. - H3 are for sub-sections:
These headings belong under an H2 heading.
H4, H5, and H6 are less important but you may sometimes want to use them, too.
Your headings should follow a clear hierarchy. H2 should be followed by H3, then H4, and so on.
Here’s an example of a heading hierarchy:
- H1
- H2
- H3
- H3
- H3
- H2
- H3
- H3
- H2
- H2
- H3
- H3
- H2
- H2
5. Use short paragraphs
People have short attention spans when reading online, so make sure your paragraphs are short and to the point.
Also, short paragraphs are much easier to read than huge walls of text, especially on mobile devices.
Get straight to the point and use active voice to keep your readers engaged.
Keep your paragraphs between 2–3 sentences.
Or go even shorter and use single-sentence paragraphs. (See what I did there.)
6. Use simple words and language
Again, I’m repeating the same mantra:
Your blog post formatting needs to help people read and understand what you’re trying to say.
If you use overly complex language or words that nobody uses daily, your readers will have a hard time scanning through your text.
Plus, remember that your readers may not speak English as their first language. Therefore, avoid fancy vocabulary and write like you were speaking to a friend.
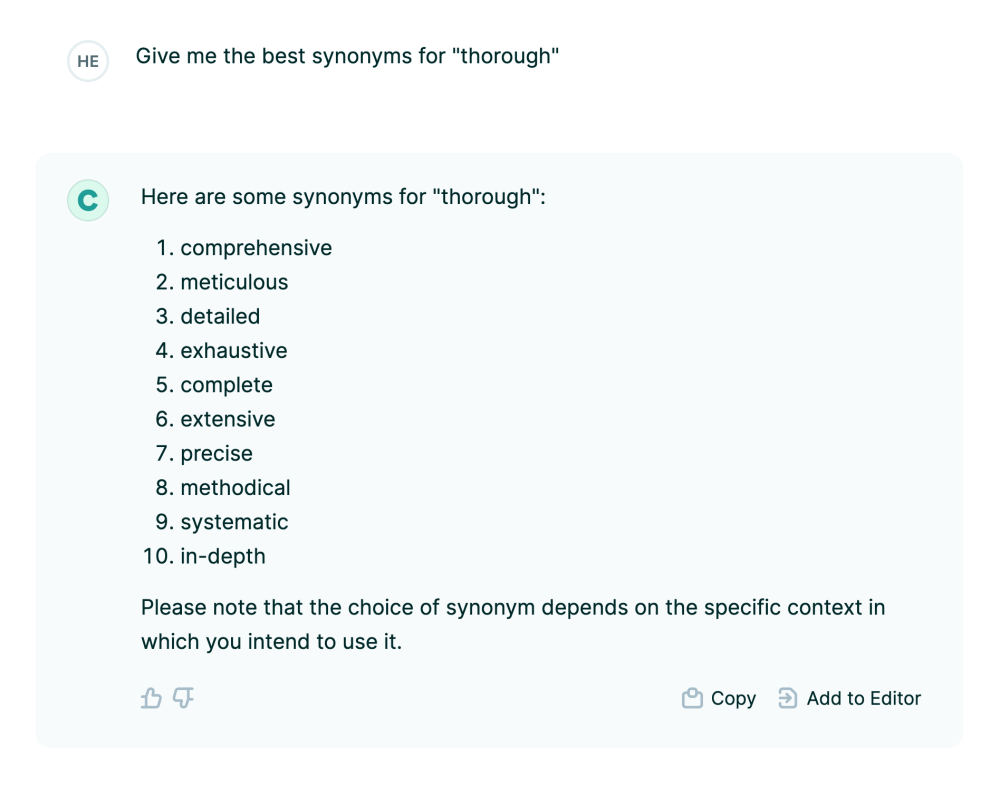
Can’t find the right word? Try Thesaurus for finding synonyms or generate a set of related words with Copy AI.
7. Start with the most important talking points
When it comes to formatting your blog posts, saving the best for last is a bad idea.
If your blog posts start with thin, vague talking points, your readers won’t stick around to finish reading your article.
Instead, start out with a bang to pull your readers in!
Make your they feel like you’re someone who knows what they’re talking about. Deliver genuinely valuable and helpful tips right from the get-go. That’s what people are looking for.
8. Use bullet points and lists
Breaking up your text with helpful formatting like bullet points and headers makes it easier for people to scan and read your blog post.
Using a bullet points and numbered lists helps you:
- Group talking points together
- Make it easy to find information faster
- Break up text to add white space
- Convey important points in a compact format
- Explain step-by-step instructions clearly and concisely
The bottom line is: people love reading lists!
9. Highlight key takeaways
When it comes to formatting your blog post visually, less is more. You don’t want to distract your reader by highlighting every other word and over-using bolding or italics.
If your text looks too busy, the eye doesn’t know where to go.
Thus, when formatting your blog posts, keep your actual text and paragraphs clear and clean.
Only highlight your main key takeaways.
10. Use images, infographics, and screenshots
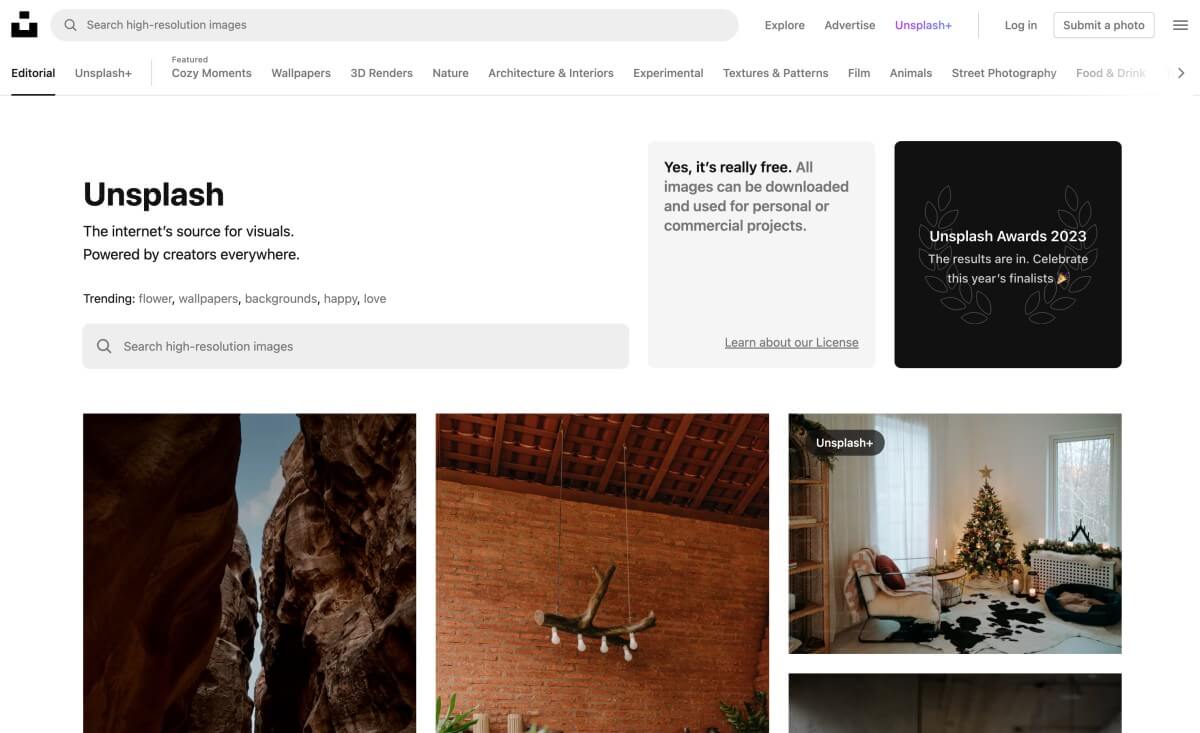
Visual content is key to keeping people engaged with your blog post. Use images throughout your post to break up the text and add another level of interest.
You can find free stock photos for your blog posts here:
To spice up your blog posts even more, you should also create custom graphics wherever they help convey your message to the reader.
I know you may be thinking: “But I’m not a designer!”
Yes, neither am I – so we’re in the same boat, my friend.
But that doesn’t mean we can’t create stunning, professional-looking graphics for our blog posts.
And it gets better:
The best design tool for non-designers, Canva, is free to use.
If you are not familiar, Canva is an intuitive, beginner-friendly graphic design tool that works directly in your web browser.
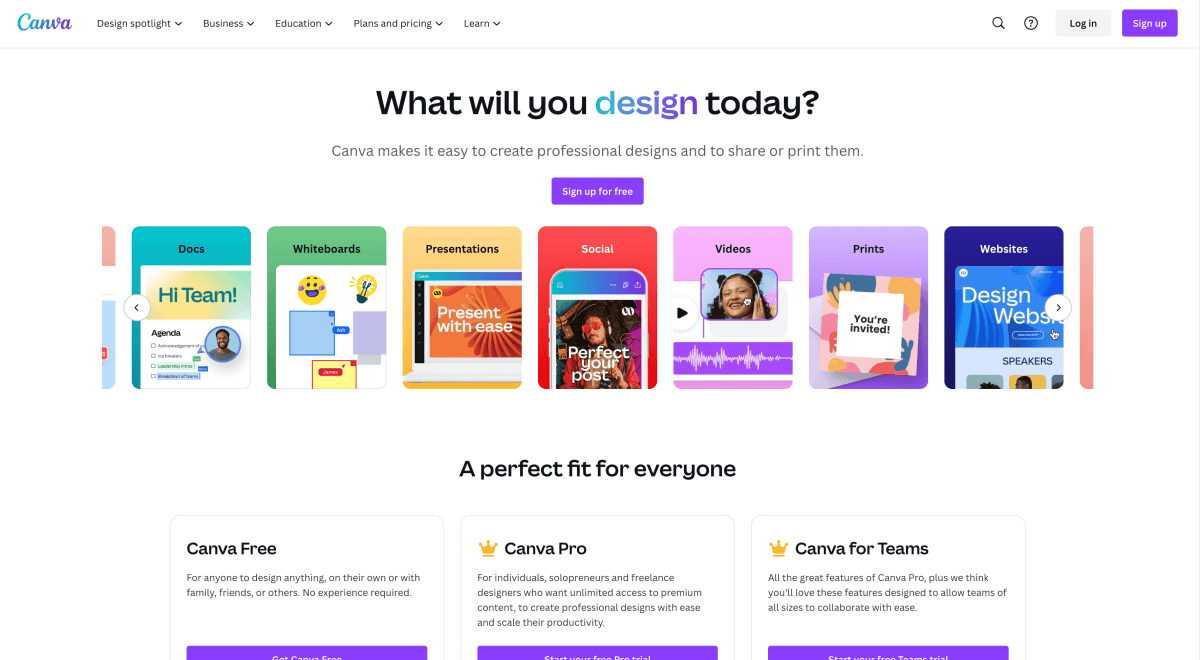
You can create a profile in 1 minute and create your first design using free, beautiful templates within seconds.
I use Canva to design:
- Featured images for blog posts
- Pinterest pins
- Facebook graphics
- Infographics
- Logos
- Newsletter graphics
- and much more
Honestly, designing professional graphics doesn’t get any easier than this.
11. Use videos
Videos are huge right now, and they are an easy way to increase reader engagement.
According to Themeisle, people spend 2.6x as much time on pages with video as on pages without.
If you’re not using videos in your blog posts yet, you are missing on a powerful tool to build a deeper connection with your readers.
The best part?
You don’t even have to create your own videos. You can simply embed a YouTube or Vimeo video in a blog post within seconds.
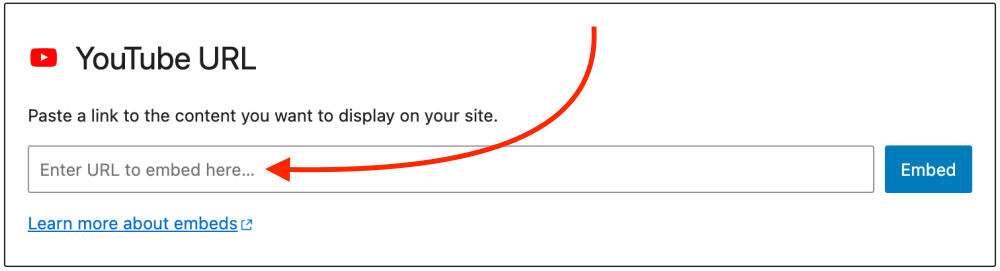
If you use WordPress, you can use the YouTube block within the Gutenberg blog post editor:
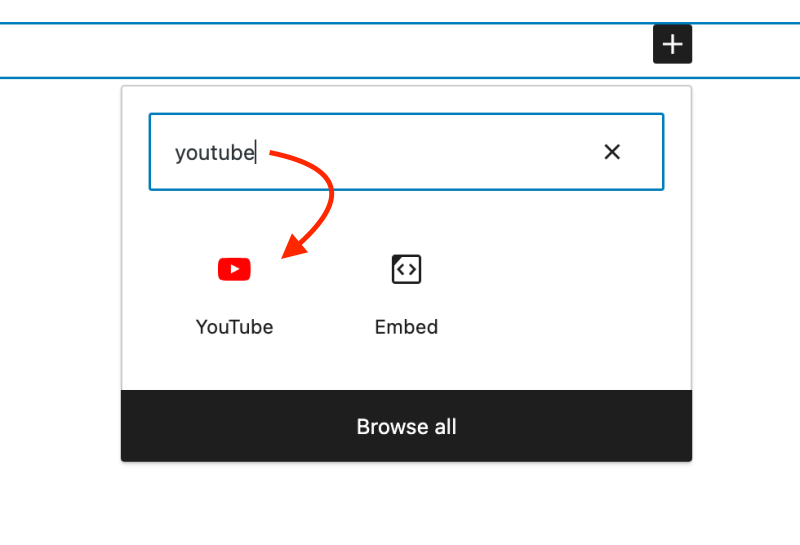
Simply paste the YouTube video URL into the field and hit Embed:
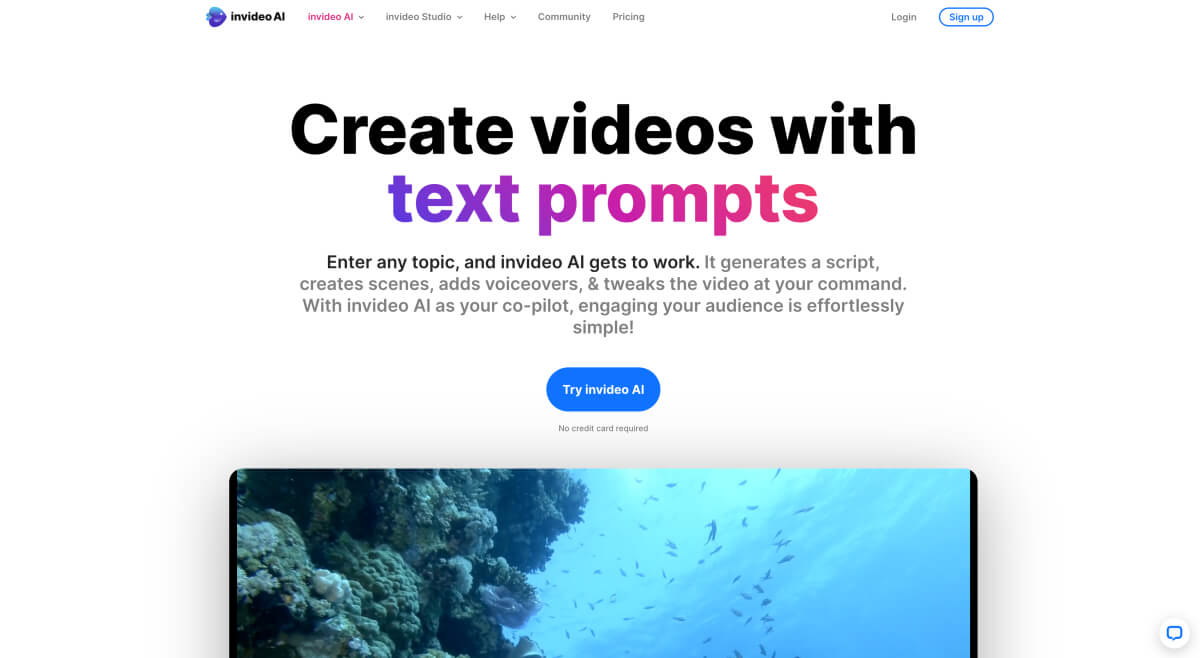
If you want to create your own videos, more power to you!
To edit professional-looking videos easily, check out InVideo. They even offer an AI-powered video editing these days – complete with voiceovers and everything.
12. Use calls-to-action (CTAs)
Once your reader reaches the end of your blog post, what should they do next?
Obviously, you don’t want them to simply leave your blog. After all, if they liked your blog post enough to finish it, you want to engage the reader even more.
This is where calls-to-action or CTAs step into the game.
A call-to-action is exactly what its name says: it tells the reader to take action.
For example, your CTA could encourage your reader to:
- Subscribe to your newsletter
- Follow you on Instagram
- Pin an image to Pinterest
Don’t overthink or overcomplicate your CTAs. Keep them concise to boost engagement and conversions.
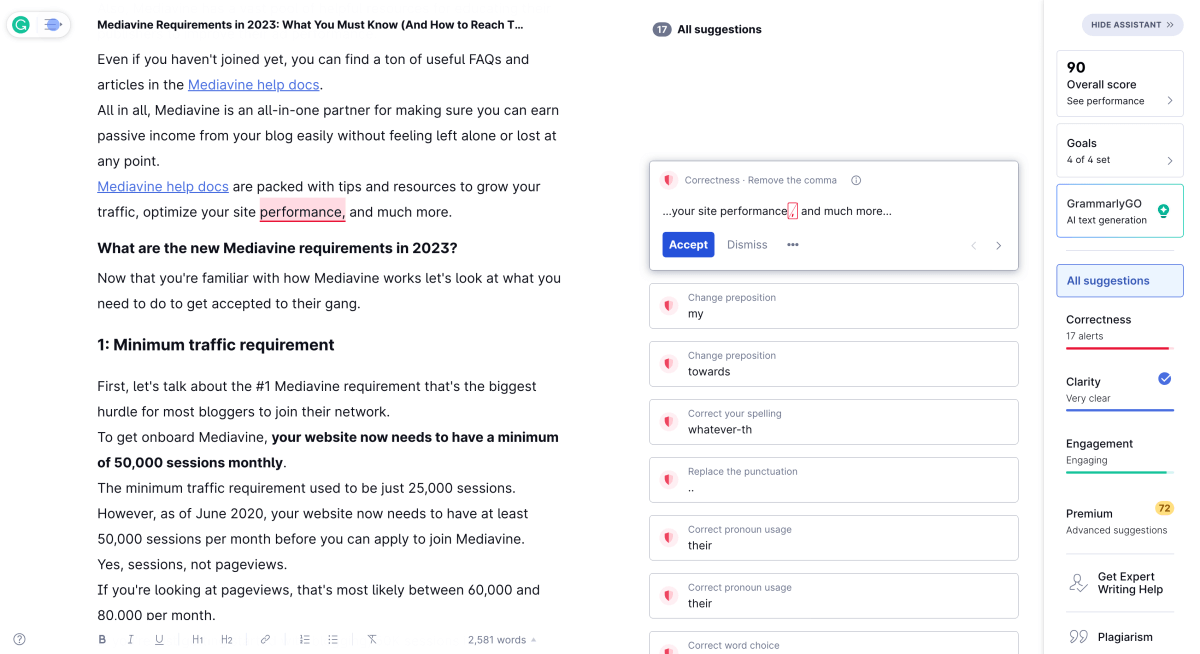
13. Proofread your blog post
Always proofread your blog post before hitting publish.
Typos and grammar mistakes can make you look unprofessional and turn off potential readers. Take the time to edit your post before putting it out into the world.
Grammarly is a free proofreading tool I use and love. You can use the browser-based interface or install the software on your computer.
14. Add social sharing buttons
Once you’ve poured your heart and soul into creating an entire blog post from scratch, your readers will want to share it with others.
And what could be better than people sharing your content on social networks, right?
It’s going to help you grow your blog traffic, get more visitors, grow your email list, and make money blogging.
If you haven’t already, now is the perfect time to add social sharing buttons to your blog posts.
Here are my quick tips to get more social shares:
- Use a legit social sharing plugin with easy customization features. I recommend Social Warfare because it’s super intuitive and free to use.
- Optimize your sharing buttons for both desktop and mobile users.
- Make sharing as easy as possible. Place the buttons above and below your blog post content. Also, try using floating buttons for desktop users.
- Ask people to share! A simple call-to-action works best for encouraging people to share your content with their networks.
Now, share this post with others! Thanks!
15. Add click-to-tweets
One of the easiest ways to increase user engagement is to include click-to-tweet elements in your blog posts.
Like this:
This little link allows people to share this blog post through their Twitter account.
If Twitter is popular among your readers and blog target audience, click-to-tweets are a fantastic way to let your readers do some marketing for you. The more readers share your blog posts, the more new readers you will generate.
The easiest way to add click-to-tweets to your blog posts is to use a WordPress plugin like Social Warfare.
16. Add a table of contents
If your blog posts are long, your readers will appreciate a simple table of contents. It’s offers a quick overview of your talking points and helps them find what they’re looking for.
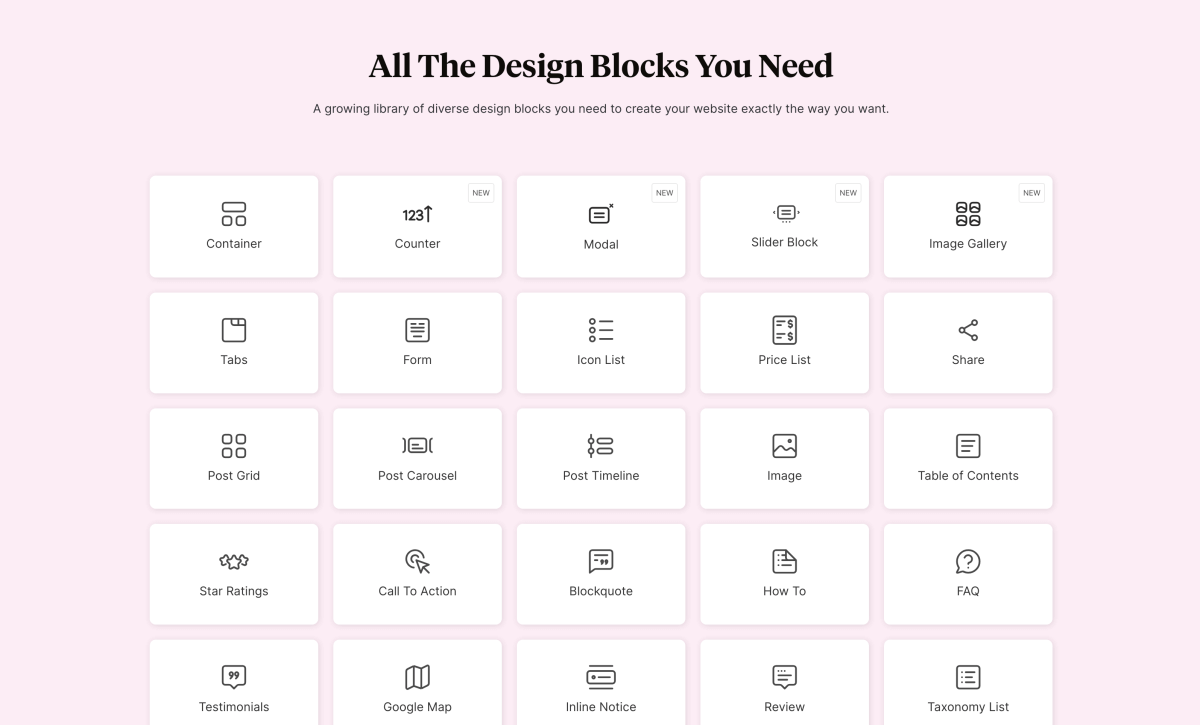
For my blog posts, I use the Table of Contents block that comes with the Spectra WordPress plugin. Spectra adds a whole bunch of new, helpful blocks to your WordPress blog post editor, like:
- Table of contents (love this!)
- Icon list
- Tabs
- Post timeline
- Star ratings
- Post carousel
- Testimonials
- FAQ section
- and more
Alternatively, you can use the free Easy Table of Contents plugin for WordPress. It’s easy and quick to set up, and you can even customize the appearance to fit your overall blog design.
Final thoughts: How to format a blog post (to grow blog traffic)
In this guide, I’ve covered how to format a blog post effectively to help you grow your blog traffic faster.
Here’s what you should be doing:
- Following a consistent content strategy
- Starting with a blog post outline (use Copy AI)
- Writing a catchy headline (use Headline Analyzer)
- Following a consistent heading hierarchy
- Using short paragraphs
- Using simple words and language
- Starting with the most important points
- Using bullet points and lists
- Highlighting key takeaways
- Using images, infographics, and screenshots (use Canva)
- Using videos (use InVideo)
- Using calls-to-action (CTAs)
- Proofreading your blog post (use Grammarly)
- Adding social sharing buttons (use Social Warfare)
- Adding click-to-tweets
- Adding a table of content
Following these simple guidelines will help your content shine, deliver value, and encourage your readers to take action.
Need to whip up content ideas quickly? Use Copy AI to speed up your writing instantly.
If you liked this guide, share it with others!